I am not really a crafty person in reality but in my mind, I am! I go to Michael’s & look at all the craft things & think “Shoot! I could do that!”, then I buy it all and it looks like a gigantic fail! So, when I take something ugly & make it look great, I get VERY excited!
A couple weeks ago, I was looking at the free section of Craigslist (I’m obsessed with checking every day, several times a day. I’ve gotten some great stuff!). I saw a listing & a picture for a free medicine cabinet. I thought it looked like I could just paint it & put it in my daughter’s room. I went & picked it up at night so I didn’t get a great look at it until the next day. The hinges were busted & inside, someone had poked a bunch of random holes in the back & stuck these annoying pegs in them. The pegs were all falling out & didn’t fit the holes. There were also about 20 hooks screwed underneath the shelves, I think to hold necklaces. But, these hooks were also just screwed in in no particular order. There was also a big chunk taken out of the wood on the side of the cabinet door. Fixing this was probably harder than all the other pieces combined. My husband bought & cut a piece of wood veneer, I used gorilla glue to glue it in place, then I bungeed it (is that even a word?) in place & let it dry overnight. After it was dry, I sanded the piece of veneer and the glue that had seeped out the sides & got to work!
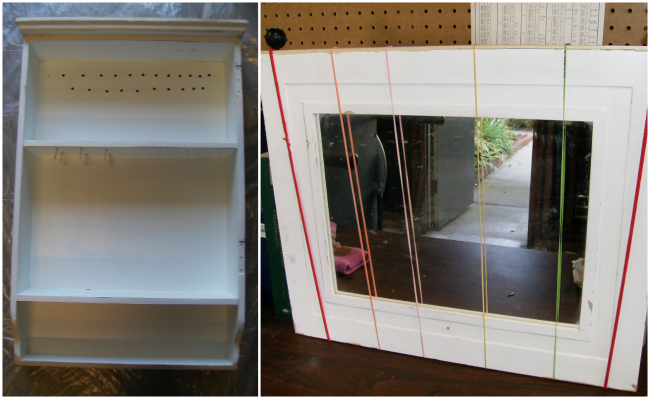
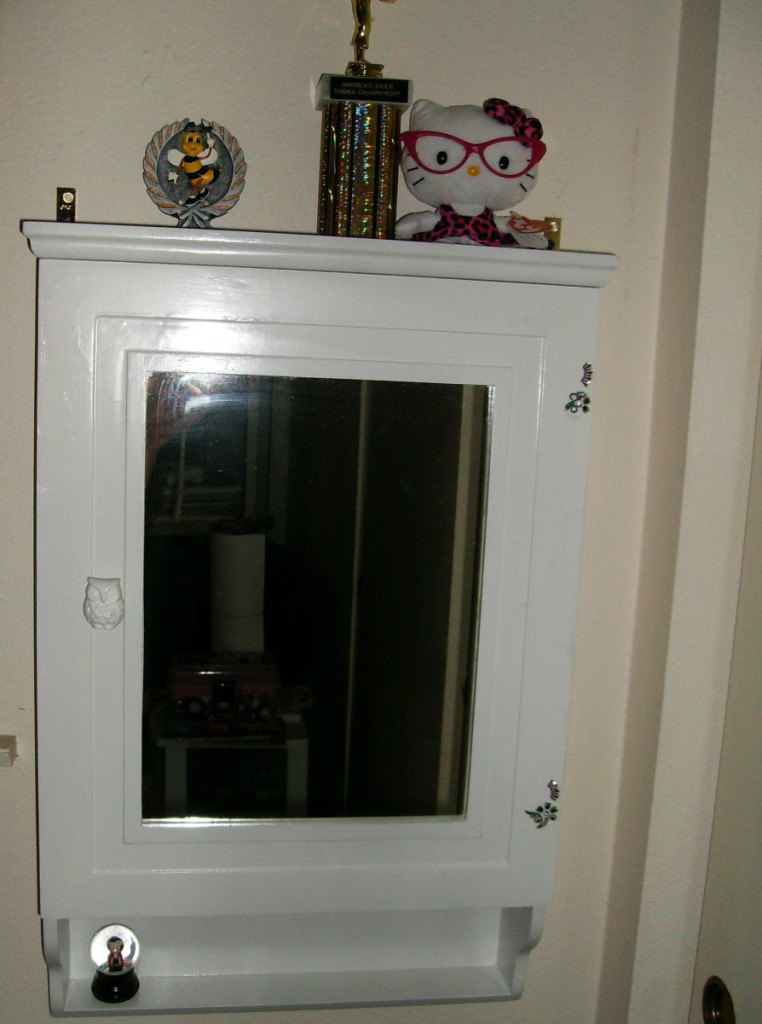
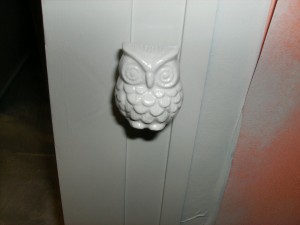
I took all the pegs out, unscrewed all but 6 of the necklace hooks & I unscrewed the broken hinges. I took the broken hinges with me to the hardware store because I’ve never bought a hinge before! After looking at a ton, I got some hinges & ran over to World Market to get a new knob. I wanted to get something cute & young. I saw this owl knob & knew I had to get it, even though I hated the color of it. I had already gotten white Krylon spray paint back in October when I went to a blogger get together so I was set with paint. I had no idea if I could spray paint the brass owl knob but I figured I would give it a try. I love the way it turned out! It took quite a bit to sand the whole cabinet & spray paint it.
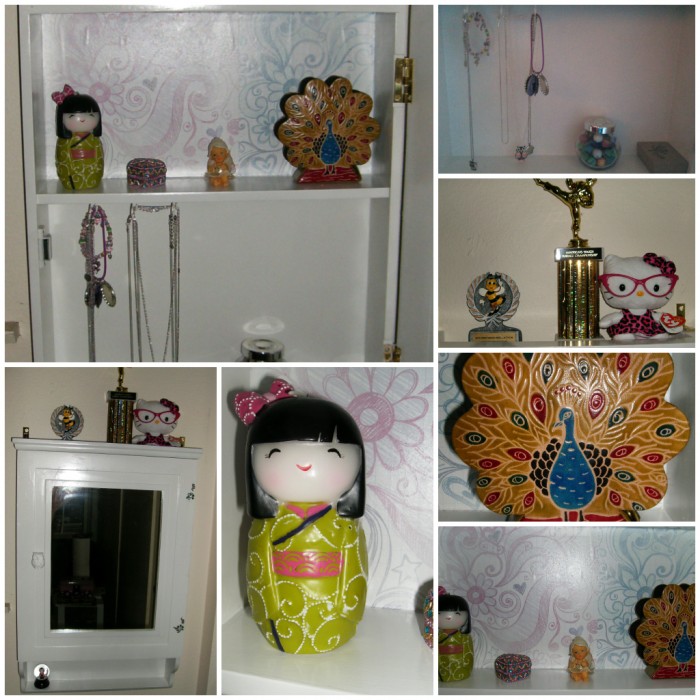
I wasn’t sure what to do with the part that had the holes in the back. I did NOT want to just leave it like that. I looked around & remembered these 2 pieces of scrapbook paper that my daughter Ashlyn picked out & loved. I pretty much just used the old Elmer’s glue, decoupage trick that I’ve done many times before (half glue, half water. Mix, slap on & flatten the paper on top. Then when it’s dry enough, I did about 3 coats on top). I am also not what you call patient so I can tell you how many times I would use the spray paint, think it was dry & put a stinking finger print in the paint! I had another can of paint that I got at the blogger get together so I used this as the final step (inside & out, also on the scrapbook paper so that it was more matte.
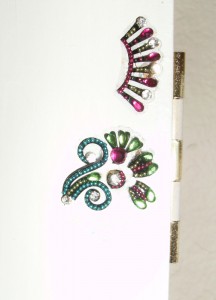
Now, the biggest mistake I made was a BIG one & I am still embarrassed by it BUT I feel like we were able to still make it look great. When I was starting a pilot hole to screw in the hinges, I went too far & drilled through the door. I know, DUMB! But, trust me when I say that this is something that I normally do with my projects 🙂 The problem with this one was that it was right on the front of the door & I didn’t know what to do! I was already out of paint so if I tried to fill the holes, I’d have to go buy more paint, sand it, paint it…I wanted to cry just thinking about it! Ashlyn suggested we just cover it up with stickers but I wanted it to still look really nice. We went back to World Market to look around, hoping to find something owl related or at least cute! We looked & looked but nothing was right for that space. We finally found these great looking bindis (ours are different than the ones shown on their site). I used a little bit of hot glue & put them over the holes. You can see the picture below of how it turned out 🙂
Ashlyn got this cabinet for her birthday & I bought her a bunch of little trinkets to go inside and some owl necklaces that she loves. I’m very happy with how it came out & even happier that she loves it!
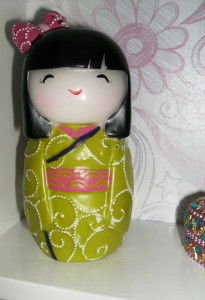
Isn’t she the cutest candle ever? I love World Market!
This is so cute! I love it! Great Job!
great job and i love love love that candle
How fun!!! Love DIY on stuff that others would toss out, to make them into cool new pieces. Awesome job 🙂
Thank you, Meagan!
Super cute! Love what you did with this upcycle.
That is so cute! =D
Look so very cute! I love it!
What a cute project. And I think it’s true that things happen for a reason, that bling to cover up the flub is just perfect. I think it might have been too plane w/out it. Great job!! Thanks for sharing it with us 🙂
Great job Tara!! I love how you covered up your mistake. Which by the way is super common! You did good girl!!
I don\’t believe that you have mistakes, Barbara! *GASP* 🙂 Thanks, girlie!
That is so cute! Very creative!
That is just adorable! I love it!
That is cute. I wish I were able to do stuff like that.
This is so very cute — I wish I had the nerve to tackle something like this. I am so craft impaired it is not funny — kudos to you for doing such a good job.
too adorable i love the last pic