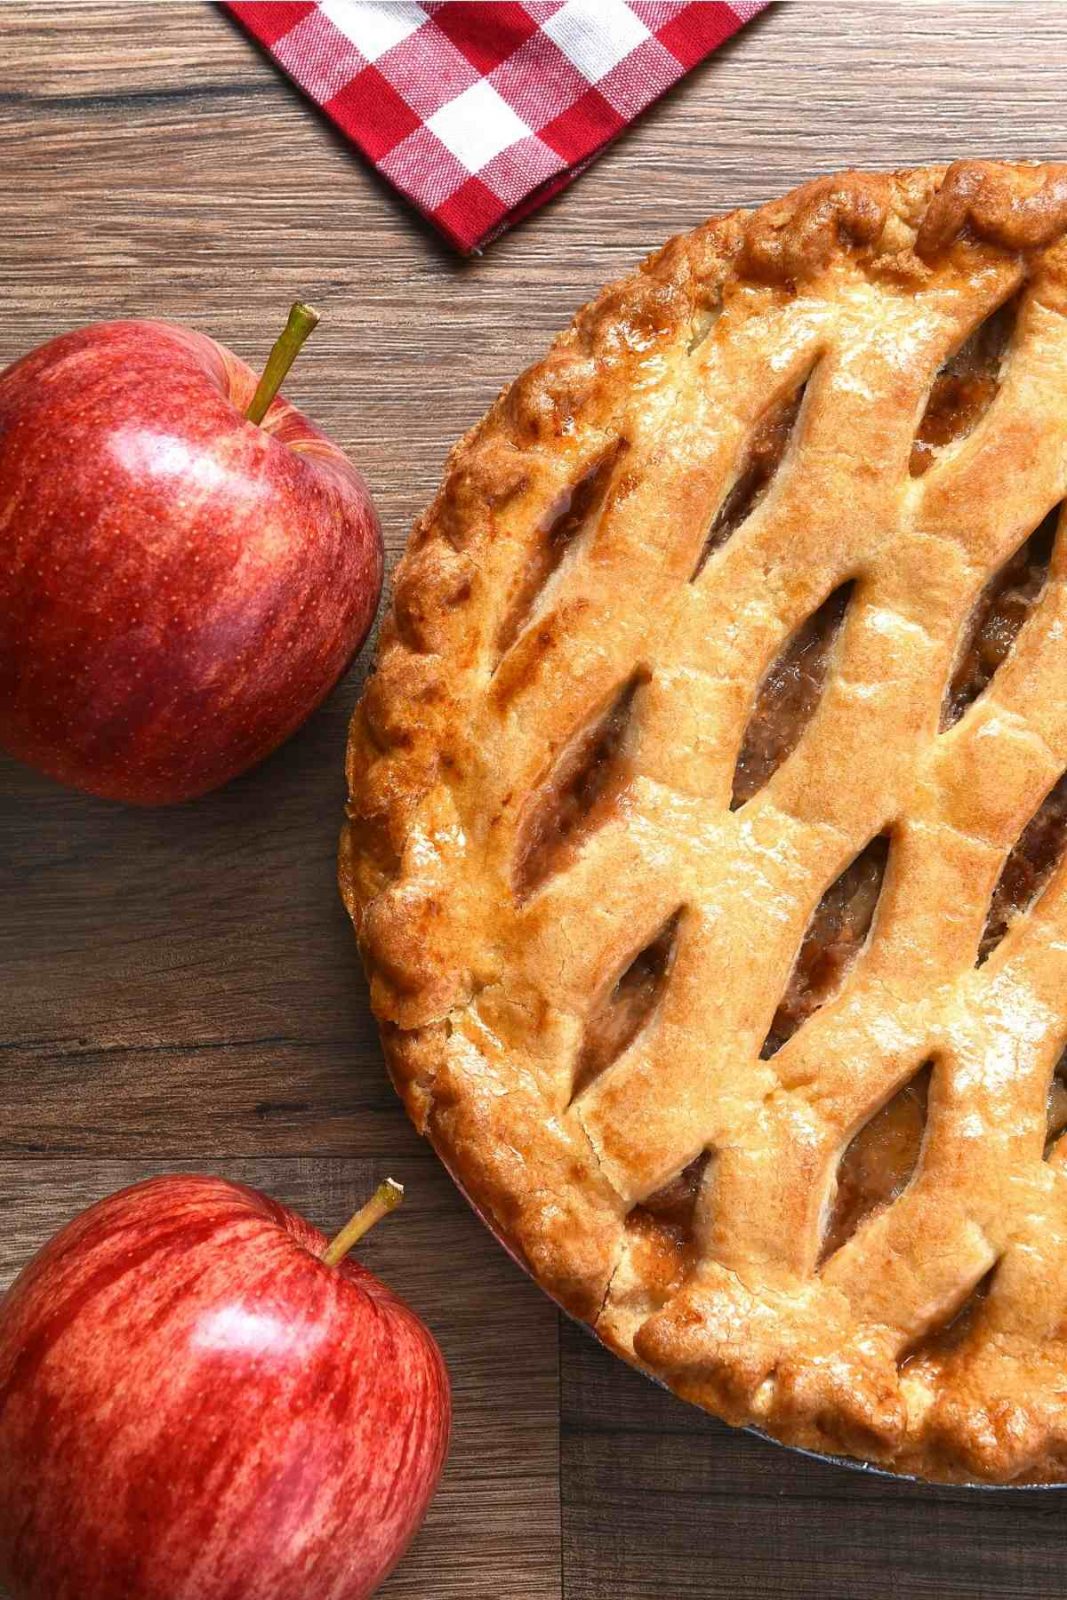
If you successfully bake an apple pie, it will turn out flakey, buttery and tender! To achieve this, you will be shown some tips and tricks below.
It all starts with the right combination of apples for the best flavor. From there, all you have to do is ensure you bake until you have a nice golden outside and a bubbly inside.

Table of Contents
How To Make The Apple Pie
The first step is to peel, core and cut the apples. Sprinkle each apple with some lemon juice or apple cider vinegar to prevent them from browning. In the meantime, mix together flour, sugar, cinnamon, allspice, nutmeg and vanilla – toss each apple with the mixture. Once the apples are well coated, set them aside for about an hour.
Remove the dough from the fridge and let them sit for 10-15 minutes, then roll out each disk to about 12-inch circles that are ⅛ inch thick.
Place the rolled out pie crust in the bottom of a 9-inch pie dish, trim the edges so that they are a half inch from the side of the pan.
Now, place the apples into the center of the pie crust. Roll out the second pie dough dish and place it over the apple mound, tucking the edges over and under the bottom crust. Then, crimp and seal with your fingers.
How Long Does Apple Pie Take?
Even when following a recipe, one of the most common complaints about apple pie is that the filling is overly watery.
To bake, preheat the oven to 375°F and bake the pie for 20 minutes, or until the top begins to softly brown. Reduce the temperature to 350°F and bake for another 45 minutes to an hour or more.
If the top of the pie begins to brown too much during baking, simply tent it with aluminum foil. Allow for an hour of cooling time before cutting into the pie, then serve plain or with whipped cream or vanilla ice cream!
How to Tell When The Pie Is Done
Here are three ways to determine if an apple pie is ready to be taken out of the oven:
- Internal temperature: Place a thermometer in the middle of the pie, if it reads 195 degrees fahrenheit, it’s ready.
- The look: If the juices are bubbly, take the pie out. If you don’t see any bubbles, keep it in.
- The texture: Pierce the pie with a fork, if the apples are soft, take the pie out. If they feel crunchy, leave it in.
Pro Tip for Baking Apple Pie
- Use the combination of sweet and tart FIRM apples for the best result.
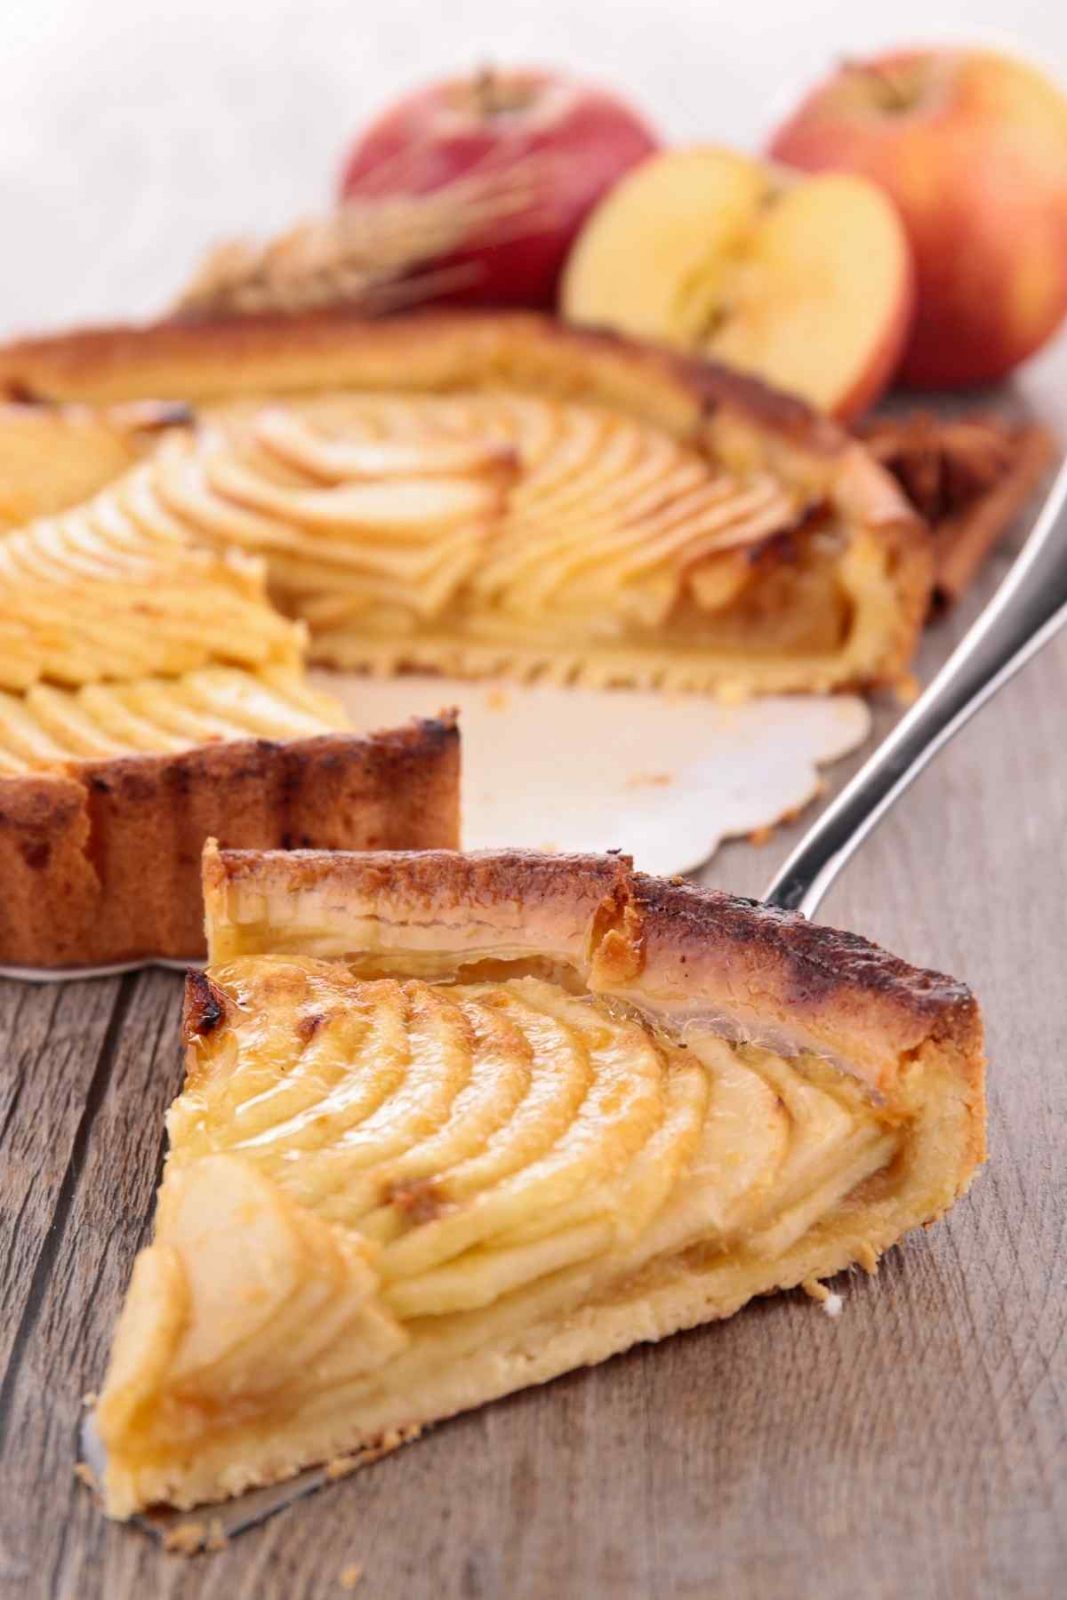
- Let the pie cool for at least an hour before slicing it. This allows the filling to thicken and prevent having a sloppy piece of pie.
- Don’t leave you apple pie in the oven for too long, otherwise, the top will get burnt.
How To Store And Freeze Apple Pie
Leftover pie can stay good at room temperature for 2- 3 days, in the fridge it can last up to a week.
- Wrap the prepared pie in plastic wrap and squeeze as much air out as possible to freeze the unbaked pie. Then wrap the pie in foil to avoid the plastic wrap from falling off. Freeze for up to a month in an airtight container. Remove it from the freezer, unwrap it, and put it in the oven when you’re ready to bake. Bake for 15 minutes more, or until the top is golden and the filling is bubbling, as indicated on the package.
- Wrap a baked pie in plastic wrap and freeze it the same way you would a frozen pie. Unwrap the pie and allow it to thaw at room temperature until ready to serve. To crisp the top and warm the filling, place it in a 350°F oven for about 15 minutes.
The Best Apples For Apple Pie
It’s recommended that you use a mix of different apples. Keep in mind that some cook faster, some are more firm, some are soft and each may have a different taste
- Granny Smith – Your best, go to baking apple! It’s crisp, tart and they keep their shape when baking.
- Fuji – A great mix of sweet and tart, this apple is crisp, firm and juicy too!
- Golden Delicious – Full of flavor, this apple is both sweet and versatile!
- Cortland – You’ll love how juicy and tart this apple is. It’s a soft apple, making it perfect for baking.
- Honey Crisp – Holds firm after baking, this apple is refreshing with just a hint of sweetness.
- Pink Lady – A good balance of sweet and tart. Will also hold its shape when baked.
- Jazz – These apples are the perfect combination of sweet and crisp. Plus they hold up nicely in a pie!
Note: Avoid Red Delicious apples for pies, they don’t cook well.
Can I Make it Ahead?
This is entirely up to you! Either make it ahead of time, or the day of. If you are making it homemade, make the dough disks and store for a day or two in the fridge.

Perfect Baked Apple Pie Recipe
Ingredients
- 4 pounds baking apples
- 1/2 cup brown sugar
- 1/2 cup granulated sugar
- 1/4 teaspoon salt
- 1 teaspoon ground cinnamon
- 1/4 teaspoon ground ginger
- 1/4 teaspoon ground cardamom
- 1/4 teaspoon ground allspice
- 1/4 teaspoon freshly grated nutmeg
- 2 tablespoons cornstarch
- 1 tablespoon butter
- 1 egg
Instructions
Make Apple Filling
- Slice each apple into ¼ inch thick slices and place in a bowlSprinkle both sugars, all spices and salt over the apples while tossing to ensure they are fully coated. Set aside for an hour at room temp.
Prepare Pie Crust and Pre-Heat Oven
- Heat oven to 400 degrees F.
- Roll out one pie dough on a lightly floured surface, making it about 1 ½ to 2 inches larger than the pie dish.
- Place the rolled out dough in the pie dish, and trim any dough that is hanging over to about ¾ inch of the edge of the dish. Place in the fridge while you make your pie filling.
- Roll out the second dough to the same size as the first. Place on a piece of parchment paper and keep in the fridge until needed.
Assemble Pie and Bake
- Toss the apples with cornstarch and place them in the prepared bottom crust. Cut about 8 pieces of butter and dot them over the pie.
- Gently put the second pie dough over the filling or get creative and cut the second crust into strips to lattice the top.
- Trim any excess dough from the dop crust and then fold the overhang underneath itself to create a thick rim.
- Whisk eggs with a tablespoon of water to use as an egg wash for the top of the crust.
- Line a baking sheet with parchment paper and place the prepared pie onto it. Bake for about 75 minutes, turning a few times for even cooking.
- Let it cool. Serve and enjoy!
Leave a Reply